I use GNU Screen on servers to manage working sessions and perform long-running or persistent tasks. Lately I’ve been using tmux locally on my work desktop/laptop, finding it better suited for most terminal activity. Here’s how I set it up with a focus on familiarity with vim bindings, useful tweaks and common hotkeys.
What’s a Tmux?
Tmux is just a terminal multiplexer, like GNU Screen. It has advanced buffer managment but generally does the same thing as Screen. I’ll include some plugins, configuration options and common keys I’ve found useful.
Install Tmux
Your distribution/OS may differ but for Fedora:
dnf install tmux -y
Setup your Configuration
Like GNU Screen your configuration will give you a generic experience or be a conduit to which you can really customize the look, feel and workflow. Luckily tmux out of the box is visually appealing, but we’re going to include a plugin manager to utilize plugins to save persistent sessions and restore them across reboots as well as some other tweaks like using vim copy/paste bindings and colouration.
Note: my config is for version 2.3 and above.
mv ~/.tmux.conf ~/.tmux.conf.bak
curl https://raw.githubusercontent.com/sadsfae/misc-dotfiles/master/tmux.conf > ~/.tmux.conf
Download the file above, backing up any existing tmux configuration.
Start Tmux and install Plugins
I use tpm (tmux plugin manager) to manage/upgrade two very useful plugins (tmux-resurrect and tmux-continuum) that auto-save your tmux sessions and layout so they persist across reboots. You can use a vim plugin to provide continual vim session persistence.
Command Note:
Example: control b + c means: hold control and type b then type c
Example: control b : (tmux control mode) means: hold control and type b, then :
First, run tmux. We’re going to use an arbitrary session name of “01”
tmux new -s "01"

Type control b + I to install the session persistence plugins.
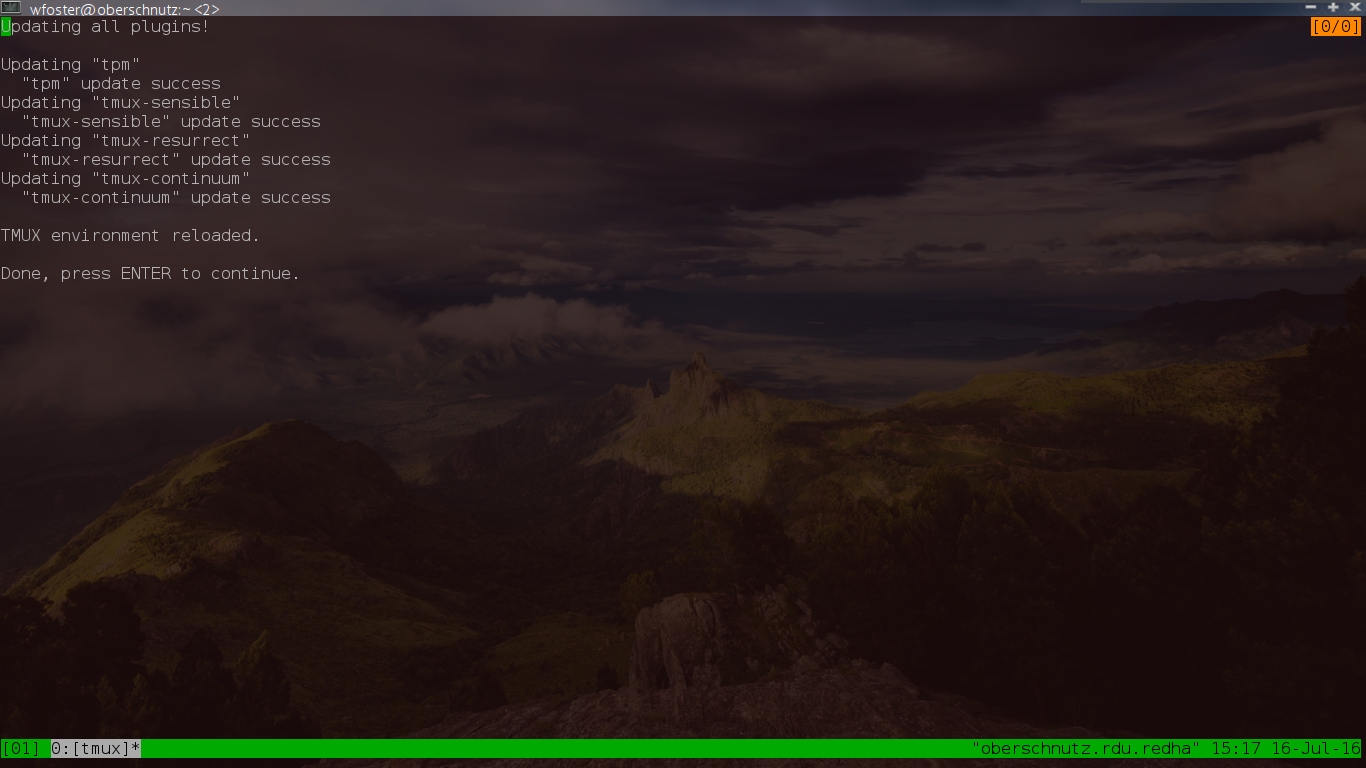
In the future to update any of your plugins just type control b + U
Tmux Usage: General
Tmux uses control b as it’s modifier, just like GNU Screen uses control a. This makes it easy to use coming from GNU Screen. This is configurable, but I leave it like this because it also means I can connect to remote GNU Screen sessions inside tmux and not have to double-escape or worry about hotkey conflicts. Similiarly, tmux uses control b : to enter command mode.
Tmux Usage: Copy/Paste
I use vim copy mode bindings, so it’s just like highlight/yank in vim.

- Enter copy mode: Control b + [
- Highlight selections to copy using arrow keys, pgup or pgdown
- Yank the selection to buffer: y
Now you’ve added your selection to the tmux buffer, there’s no limit to the amount of things you can copy into it. You can access your buffer by using control b + =

Paste the buffer by pressing enter, or delete a buffer entry using control + b and +
Manage Copy Buffers Externally
Tmux has the ability to query and pull copy buffers external to tmux.
List Buffers
tmux list-buffers
You should now see all your copy buffers along with the index.
buffer0003: 1076 bytes: "\012[ 9012.062250] iwlwifi 0000:03:00.0:
buffer0002: 773 bytes: "\012[ 9011.933812] psmouse serio1:
Copy Buffer to File
Use save-buffer with the -b option to copy your selected buffer to a file.
tmux save-buffer -b buffer0003 /tmp/ok.txt
Display Buffer
You can use the show-buffer command to display contents as well.
tmux show-buffer -b buffer0003
[ 9012.062250] iwlwifi 0000:03:00.0: L1 Enabled - LTR Enabled
[ 9012.090967] IPv6: ADDRCONF(NETDEV_UP): wlp3s0: link is not ready
[ 9012.117822] IPv6: ADDRCONF(NETDEV_UP): wlp3s0: link is not ready
[ 9015.355751] wlp3s0: authenticate with e0:3f:49:ef:c7:ec
Using Panes and Tabs
While GNU Screen supports both vertical/horizontal panes and multiple tabs, it’s much easier to manage within Tmux.
- Open a vertical pane: control b + |
- Open a horizontal pane: control b + –
- Move between panes: control b + direction arrows
- Drag a pane around: hold control b and use direction arrows
- Open a new tab: control b + c
- Move between tabs: control b and use direction arrows
- Close a tab: control b : and type kill-window
Below you can see a multi-pane session using vim for coding and a small, horizontal pane at the bottom for running Python interactively.

Other Common Commands
For anything in-depth you’re better off consulting other sources as this isn’t exhaustive but these are the common commands I use.
- List sessions: tmux list-sessions
- Attach to a specific session: tmux attach -t session
- Kill a specific session: tmux kill-session -t session
- Detach from current session: control b : and type detach
- Detach all connections from session: tmux a -dt session
- Rename a session: control b : and type rename-session
- Rename a tab/window: control b : and type rename-window
There’s a much better tmux cheat sheet located here.
Using Tmux with Screen
The default behavior of tmux for multi-users is that progression across tabs follows one person, whereas in GNU Screen you can have multiple, connected users each working individually on their own tabs/windows. This makes using GNU Screen for servers better for me.
I do favor many aspects of tmux for local usage however, like being able to query buffers, the availability of plugins and generally more visually pleasing look without doing a lot of hacking on configuration files.

I normally use two tmux sessions locally, one for coding/hacking and another for administrating remote systems. In the latter tmux sessions I might be connected on different tabs to remote server GNU Screen sessions.
Extending with Vim
I have another guide on tricking out your vim setup, the lighter-weight ‘light’ version is already setup with a few tmux-friendly vim plugins to ensure vim works great inside tmux.
Using Italics in Terminal and Vim
I’m also using italics for code and config comments in vim. To enable this support in tmux you need to first make sure the tmux terminal type is supported in your distribution.
infocmp tmux
If you get a bunch of data back then the tmux terminal type is supported, you can simply add this to your ~/.tmux.conf to support italics as code and config comments.
set -g default-terminal "tmux"
If all is well you should see something like this:

Connecting to Remote Sessions with Tmate
Worthy of mention is tmate which is fork of tmux that provides instant terminal sharing (and sharing via web browser) via tmate.io and a random address it prints when it starts up. This is really useful in a pinch to share a screen with someone remotely and is in most Linux distributions.