![]()
 I recently created a dedicated game recording/streaming setup using OBS Studio on Fedora Linux. This lets me capture and stream real-time full 1080p video and audio from another machine playing video games. Read on for the hardware and setup details, let’s get started.
Recording Approach
The idea here is that the only thing that occurs on the gaming PC is playing the actual game. Since we are splitting an HDMI signal to the Linux capture PC we gain digital voice + audio. I am using a monitor that also provides a 3.5mm-audio out (does not have speakers) that goes into my wireless headset attached to the Linux PC. Pulse Audio drives all the setup on the Linux side.
Recording Hardware
- ViewHD HDMI 1 x 2 Splitter – $20
- Rosewill USB3 PCI-E 4-port card – $18
- Magewell HDMI USB3 Capture Card – $300
- Blue Yeti Pro USB3 Studio Mic – $250 (optional)
How it All Works

Audio and Video Connection Breakdown
- GeForce GTX 970 TI outputs HDMI to the splitter
- Splitter out #1 goes back to the monitor I play on
- Splitter out #2 goes into HDMI Capture Dongle
- HDMI Capture Dongle connects to USB3 on Linux capture PC
- Audio-out from game monitor goes to 3.5mm plug in the USB dongle of my Logitech G933 wireless headset on the Linux machine.
- Optional USB3 Blue Yeti recording microphone plugs into capture PC as an additional audio track for commentary or other uses.
Software Installation
We’ll walk through the setup on the Linux side on Fedora. On the gaming PC just ensure that HDMI is set as your primary audio and video device.
Note: This guide will focus more on using a dedicated machine to record/stream from another multimedia or gaming computer over an HDMI splitter / capture device. See notes at bottom for single computer usage.
Install RPM Fusion Repos
dnf install http://download1.rpmfusion.org/free/fedora/rpmfusion-free-release-$(rpm -E %fedora).noarch.rpm http://download1.rpmfusion.org/nonfree/fedora/rpmfusion-nonfree-release-$(rpm -E %fedora).noarch.rpm
Install ffmpeg, x264 and the PulseAudio UI
dnf install ffmpeg x264 x264-libs pavucontrol -y
Install OBS Studio RPM signing key
rpm --import http://repo.tech-3.net/Fedora/TECH3-GPG-KEY.public
Install the OBS repository
dnf -config-manager --add-repo http://repo.tech-3.net/Fedora/tech-3.repo
Install OBS Studio
dnf install obs-studio -y
Setup OBS Studio
Once everything is wired up and all of the software is installed it’s time to setup OBS. Make sure that you also have active HDMI signals coming in as well so your gaming PC should be powered up.
First, create a scene on the bottom left part of OBS via the + button. Name it whatever you want.

After this you’ll add a source – this is where you’ll configure the USB-HDMI capture device. Set the resolution to the native resolution of the streaming PC.
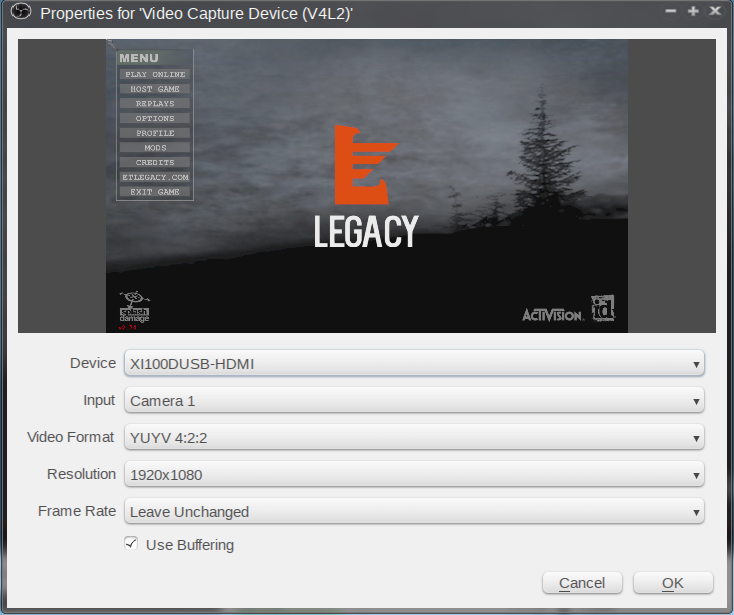
Next, you’ll need to configure the audio properties for this source, again make sure the USB-HDMI capture device is selected.

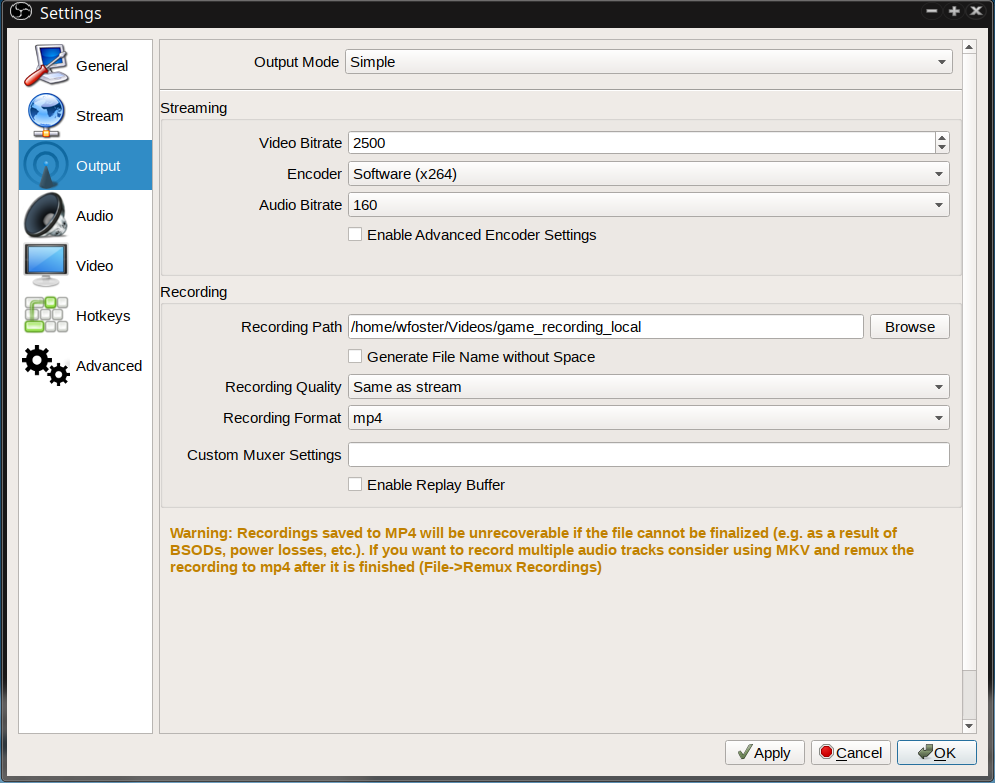
Next set your output settings. I am using mp4 instead of mkv for my recording output, it doesn’t really make much of a difference but that’s what I’m using now – it makes it easier to edit raw video later with some tools that I use (mostly Kdenlive and occasionally Final Cut Pro).
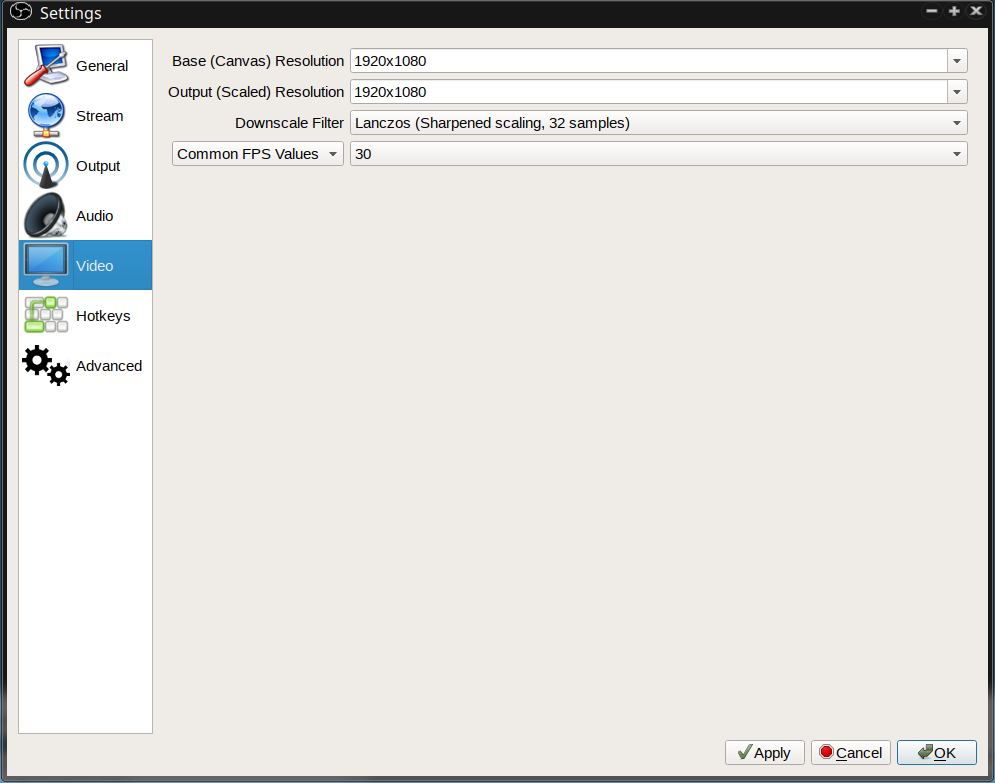
Lastly set your video settings. I usually just go with the native resolution of the capture PC (in this case 1920×1080 – 1080p) and 30 FPS. Quality-wise for streaming anything higher than 30FPS is a waste and I’ve not noticed much difference going higher for local recording either compared to the overhead involved.
Click Apply and OK. If you do not see your HDMI stream show up and audio activity you may sometimes need to untoggle / toggle “Use Buffering” under the Source settings. Leave OBS studio up for this last part.
Setup Pulse Audio
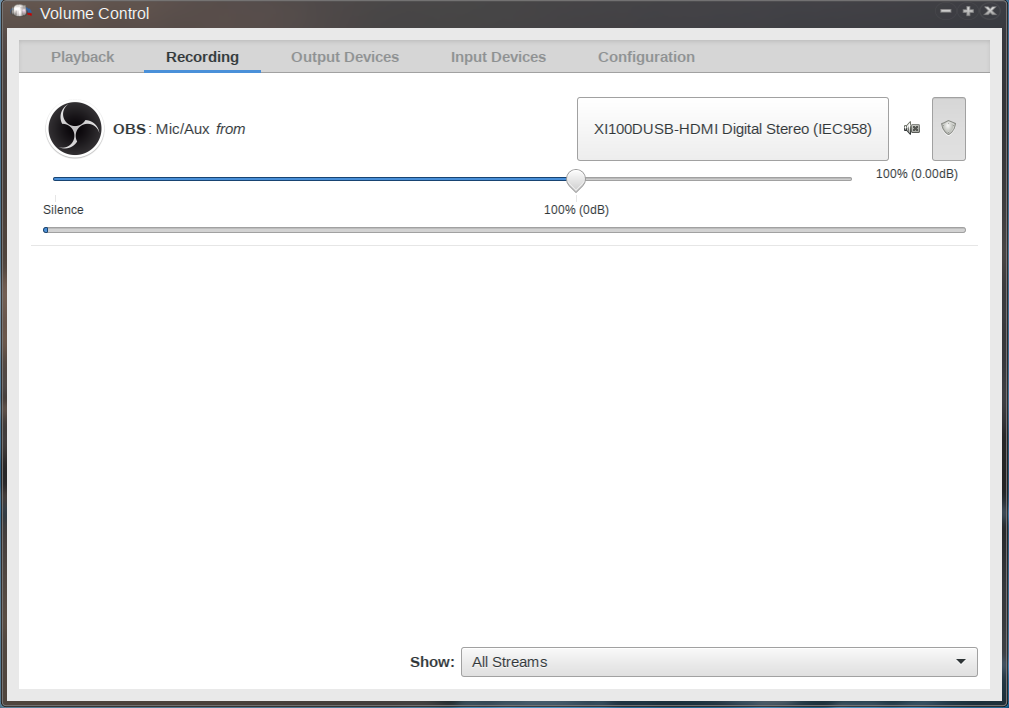
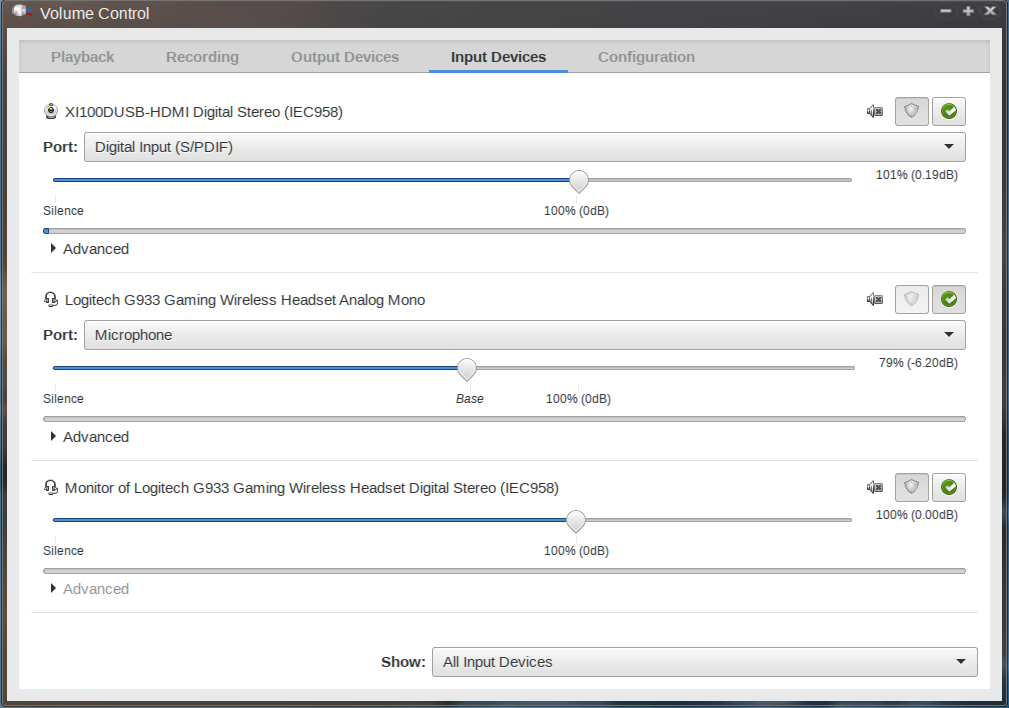
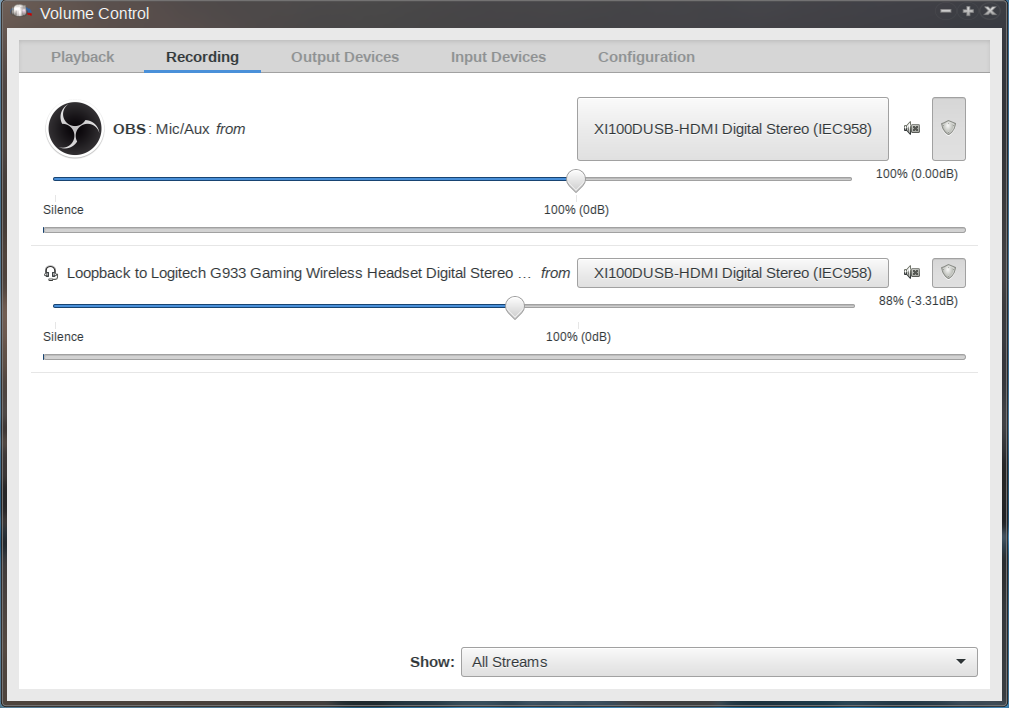
Now you’ll want to setup Pulseaudio via the pavucontrol interface. Below are screenshots of my setup. First you should see OBS as a recording device from the HDMI splitter in the Recording tab.
Next, make the following changes to the Input tab.
Lastly check the Configuration tab within PulseAudio and ensure your USB-HDMI capture device is set appropriately.

Recording and Streaming
If all is well your OBS studio should show the active HDMI output from your gaming machine, including the audio stream. You can press start recording and you should be in business.

Game Audio Options
Dedicated HDMI Monitor Audio
I ran a 3.5mm audio cable from my Dell U2414H gaming monitor audio out to the audio-in port on my Logitech G933 Wireless Headset’s USB wifi dongle, this allows me to hear game sounds since my monitor doesn’t have speakers. I won’t cover that here as everyone’s setup is different.
Optional Software Audio Loopback
You can ride off of the HDMI audio signal by creating a loopback device in PulseAudio, though this gave me a slight latency so I preferred the direct connection. This is reported to work well for others however so it could be my Logitech wireless USB audio setup.
sudo pactl load-module module-loopback latency_msec=1
Now you should see a loopback device appear in PulseAudio and you can set the volume as you prefer. This would provide you game audio over the HDMI signal in software.
Further Setup
OBS has the concept of sources and scenes. A scene is simply a unique collection of sources. OBS studio lets you bring in other video capture devices like a webcam (for a small avatar type stream) as well as mix in other audio sources as tracks like commentary from another microphone, audio from VOIP chat like Mumble etc.
For example you might have a scene that is setup to record your secondary display and microphone, one to record just your browser and set of terminals and no microphone, another one that pulls in your primary desktop with your webcam as an overlay and a final scene that takes HDMI output from an entirely different computer. OBS has a lot of options and flexibility.
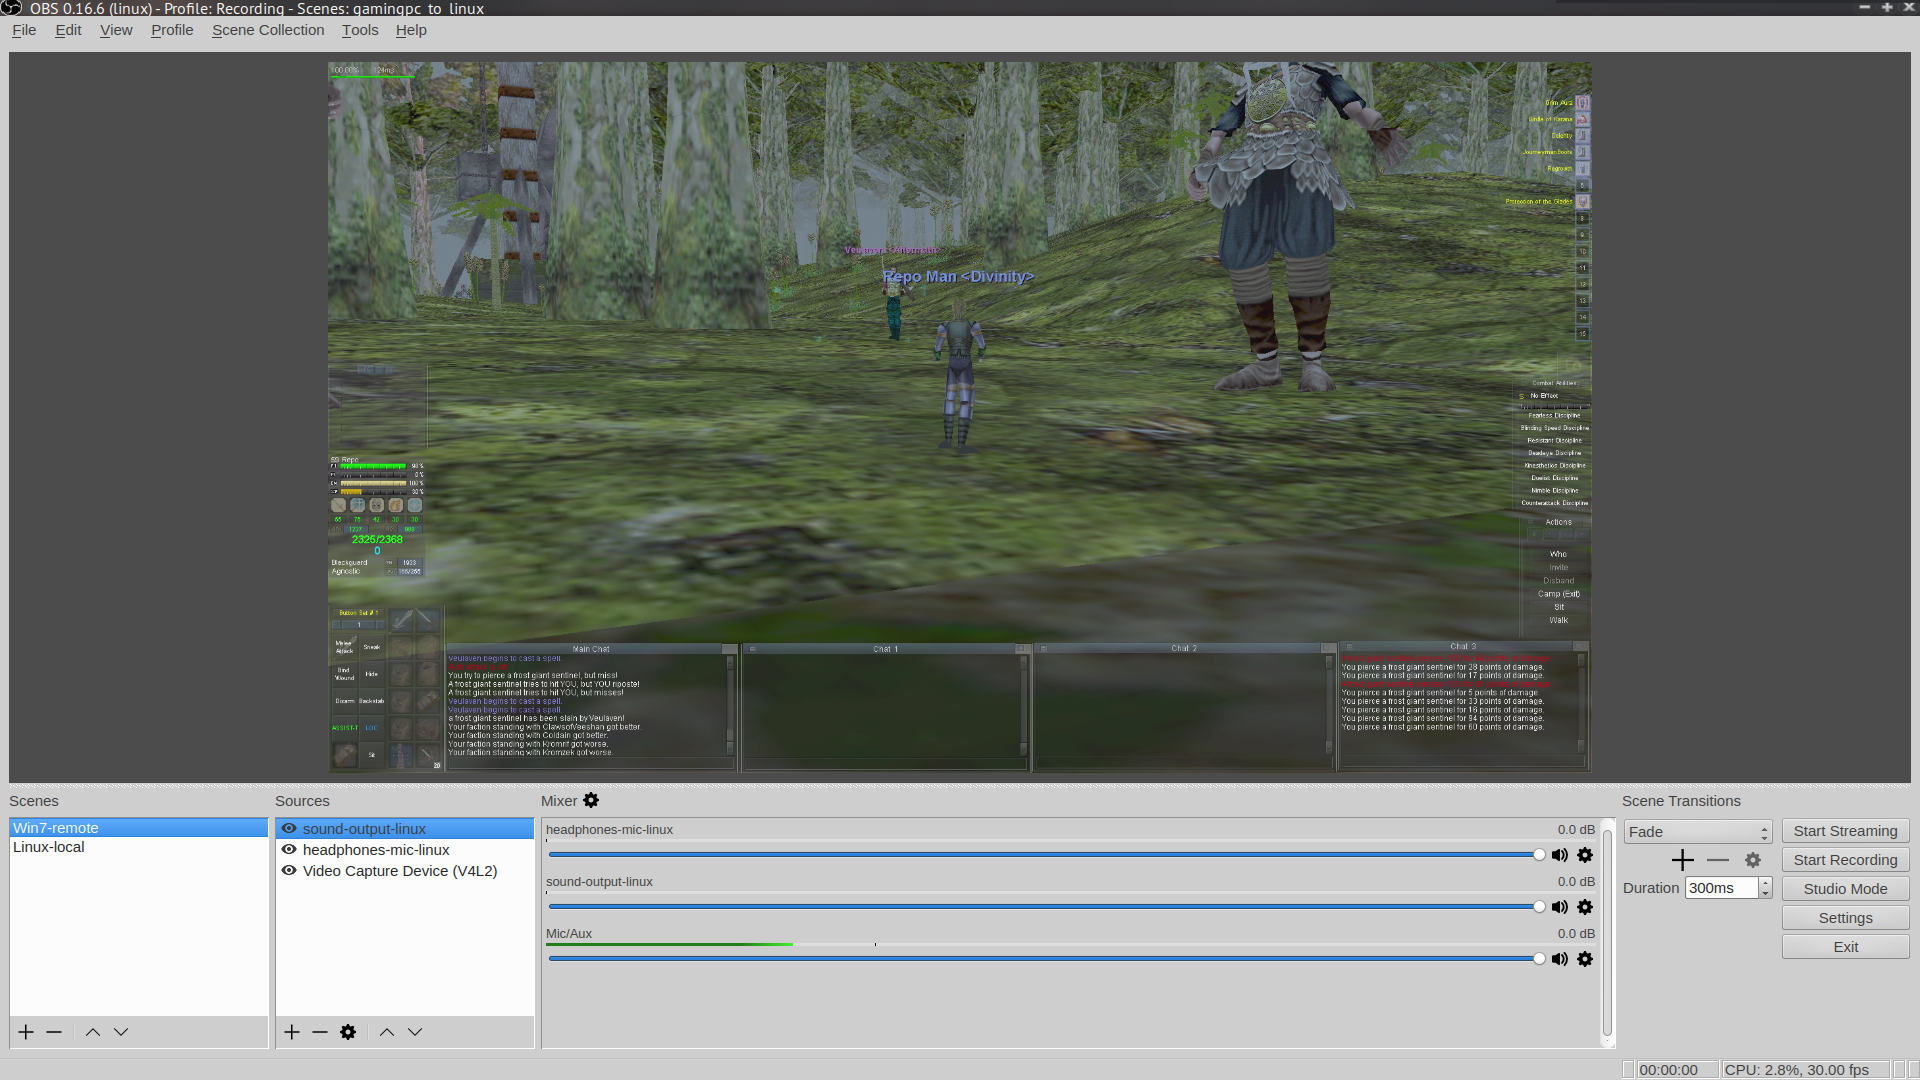
Each scene has their own individual sources, settings, filters etc. Here’s what I am using for my setup currently.

You can also apply per-scene filters for things like audio correction, filters and a slew of other enhancements.
For example with my Blue Yeti microphone I am using the noise gate filter to cut down on external noise when recording. You can right-click on any source to setup filters for them.

OBS also allows direct streaming via Twitch, YouTube or other services via their API. For Twitch or YouTube you’ll just need to obtain your streaming key and set it up in the settings. You can record locally and stream at the same time.
Fix: Static and Crackling in Fedora 28+
Recent Linux distributions using PulseAudio have changed to a time-based scheduler in stead of interrupt-driven. This may cause static and popping on older hardware. I noticed after upgrading to Fedora 28 that I started hearing crackling in the headset, I was able to fix this by editing /etc/pulse/default.pa
Change this:
load-module module-udev-detect
To this:
load-module module-udev-detect tsched=0
Then restart PulseAudio as your normal user:
pulseaudio -k
pulseaudio --start
Example Recordings
I am just getting started with this recording setup, and a lot more testing and field usage still needs to be done including integrating the Blue Yeti Pro Studio mic w. pop filter, but here are two example videos that I’ve recorded:
Enemy Territory: Legacy (1080p @ 60FPS)
Grand Theft Auto V – Online (720p @ 30FPS)
EverQuest Scars of Velious (1080p @ 30FPS)
Using OBS Studio on the Same Computer
You can record on the same computer and same screen just as easily, you should just be aware of a few caveats.
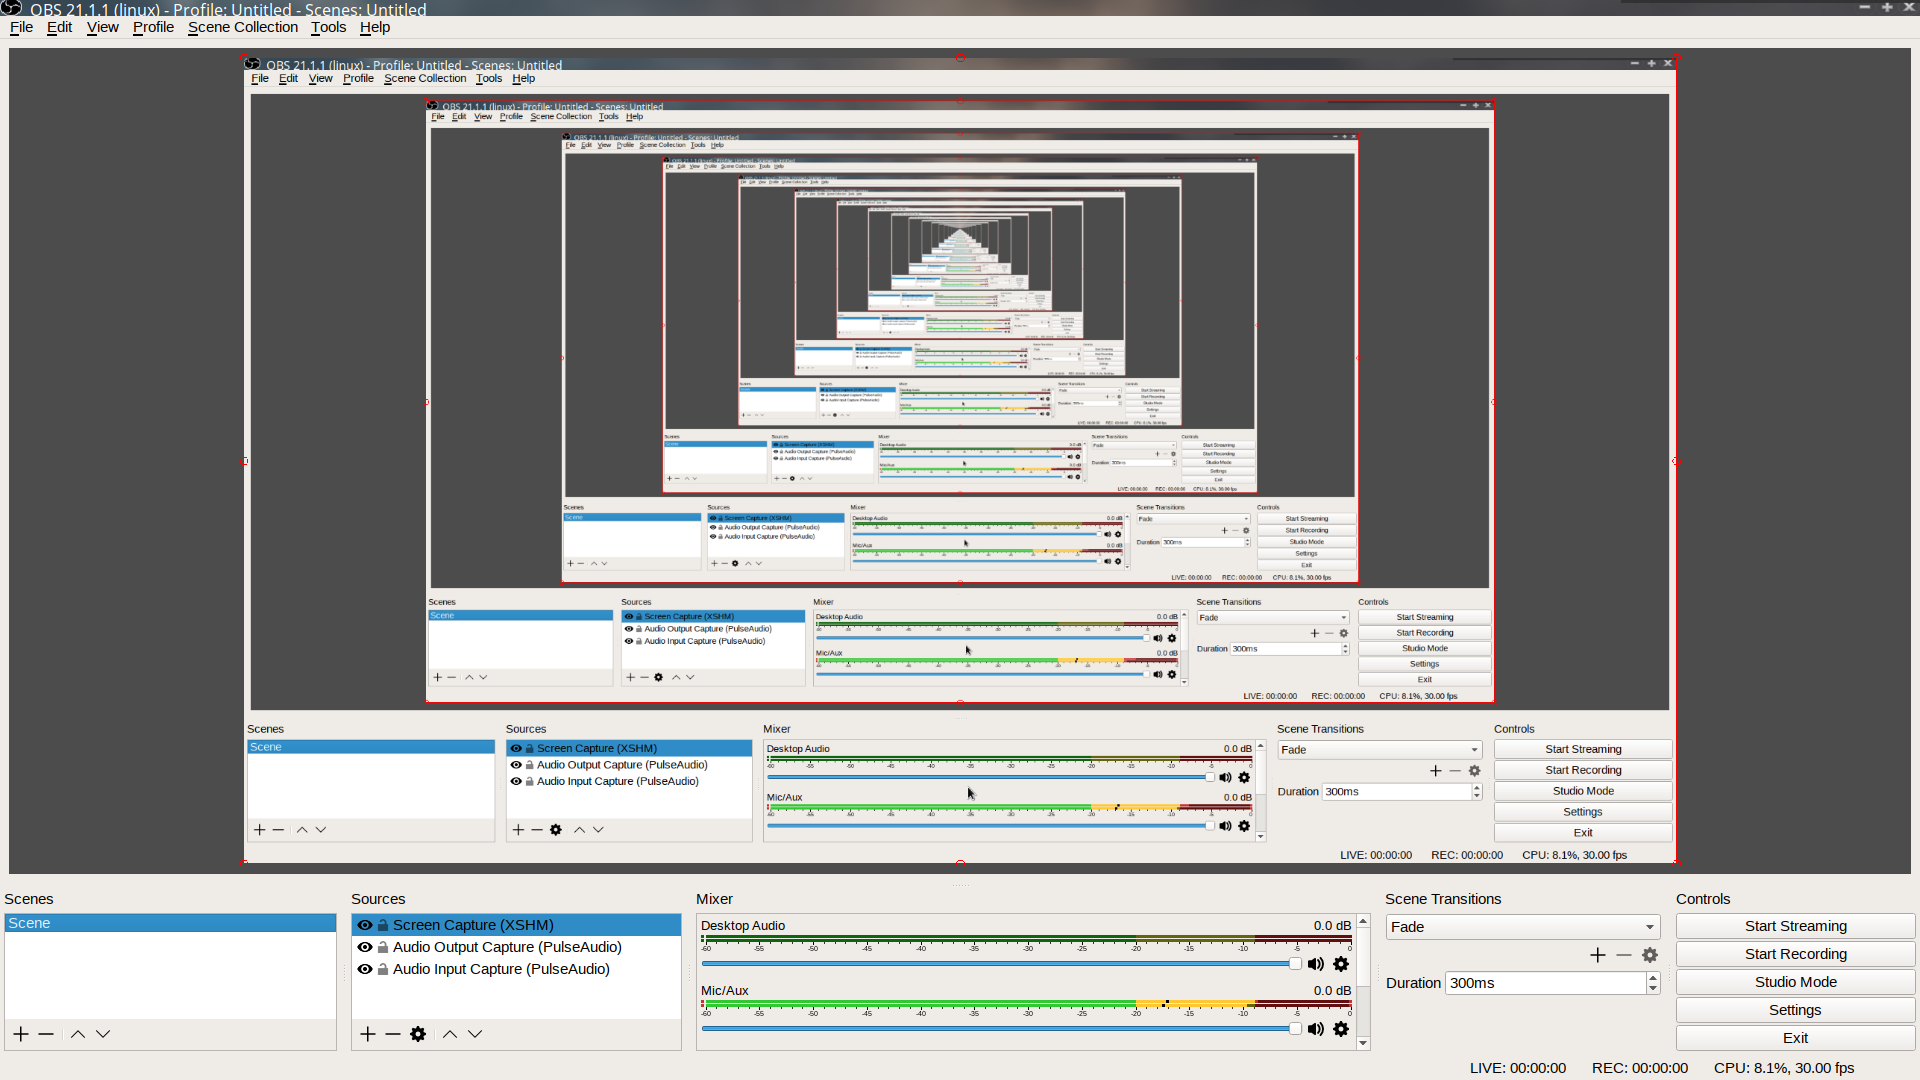
Adding your primary laptop display (assuming you only have one) will give you a sort of endless “hours of mirrors” type of effect.
Behold, a glimpse into infinity of the abyss.
You still might want to record your entire desktop but you probably don’t want to record this (or deal with editing it out later). If you want to record your entire primary screen on the same display OBS studio may run you can control the streaming and recording options from most window managers applet / notification area.
In my case this is XFCE – right click OBS icon.

You can also set start / stop recording and streaming hotkeys from within the OBS studio settings as well. This lets me record demos on my laptop for example without having the OBS studio window visible.
Recording Specific Windows
One of the more powerful options of OBS studio is in multi-scene and multi-source control. You can record specific window(s) instead of your full desktop by adding them as a source.
First create a new source and give it a name – it should correspond to an already open window or application.
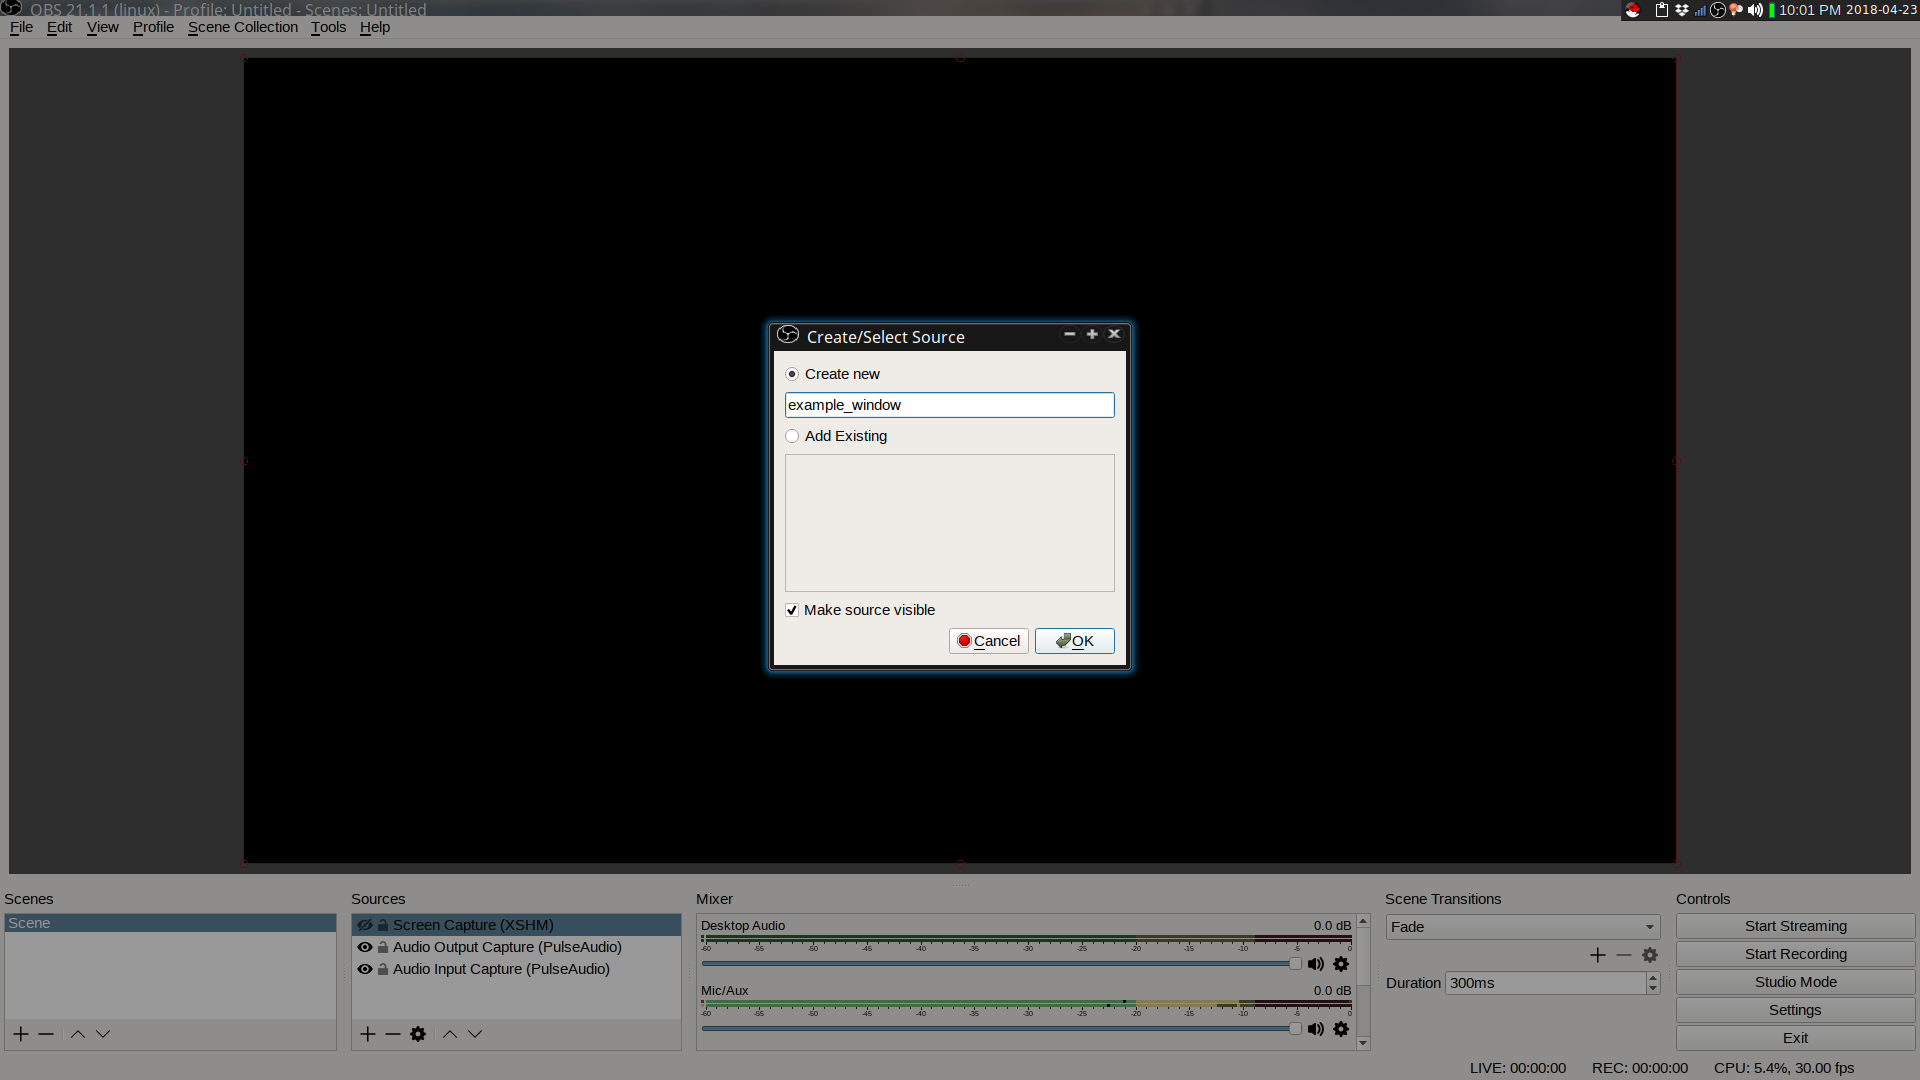
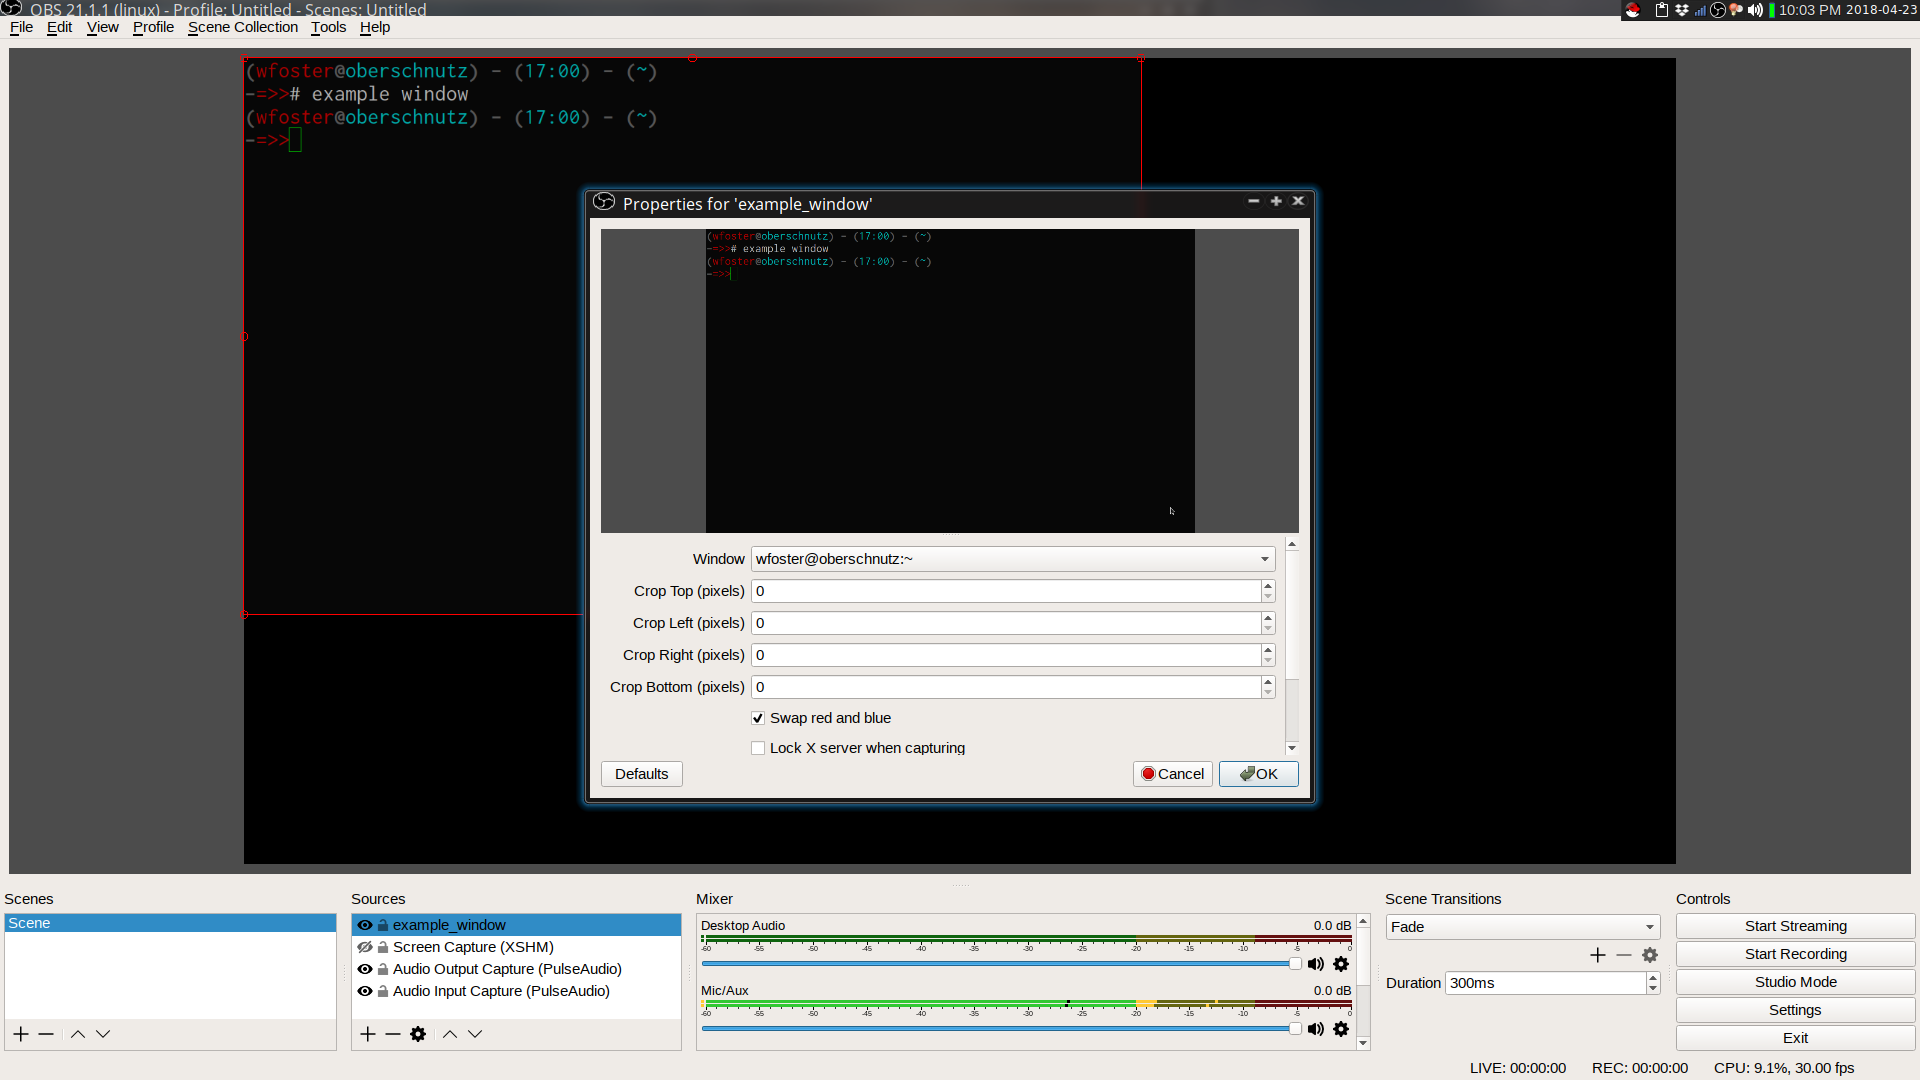
Next, select the source of that program or window you want to add as the source.

You can see here I’ve selected a simple terminal window as my only visible source.
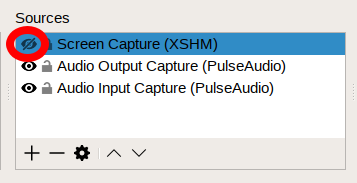
Note: You can mute or temporarily disable a source by clicking on the eye icon to the left of the source you want to modify.
In the examples above you do not see the infinity abyss effect because I have my primary desktop source muted / silenced.